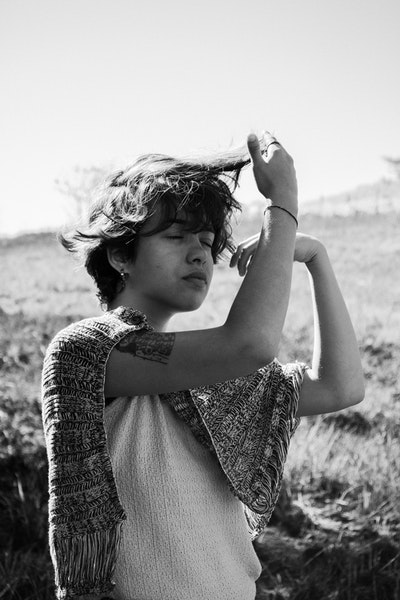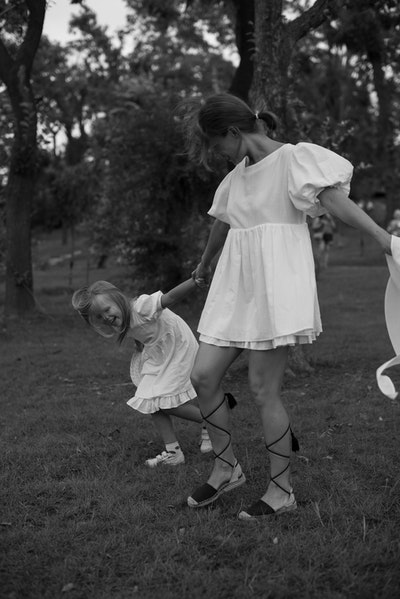
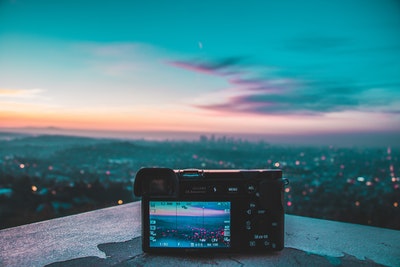
The world of digital cameras has grown greatly over the last decade, and it can be intimidating to know how to navigate the many settings your new DSLR comes equipped with, not to mention how to shoot solid images. We are here to help. Glenn Willcox Photography offers these tips for beginners shooting on DSLRs in understanding basic exposure variables.
Shutter Speed
Cameras work simply put, by letting in light, exposing their sensor, allowing the image to develop. There are a few different ways you can control the light allowed into the camera. The more common known way to do this is through shutter speed. Shutter speed is the speed in which the shutter is opening and closing to expose the image. The shutter, is what makes the classic “clicking” sound that you have likely heard when someone takes a picture. Shutter speeds are shown on your camera as a fraction, such as 1/1000. In this case, the speed of the shutter opening and closing is one and one thousandth of a second. The speed in which you set the shutter is crucial to get an image exposed correctly. For instance, if you are outside on a bright, and sunny day, a faster shutter speed is needed, likely over 1/1000. If you were inside, with minimal light, a much slower shutter speed, such as 1/60 may be needed. Keep in mind, if your subject is something that is moving, such as a person or pet, a slower shutter speed will likely result in blurred images. To compensate for this, we will next look at other means you can better expose an image, without solely relying on shutter speed.
Aperture (F-stop)
The other major mechanical variable tip you should know as a beginner getting into photography is aperture, or sometimes called f-stop. Aperture references how open or closed the lens is, so in other words, how much light the lens is allowing in, no different than our pupils in how they dilate to compensate for changing light around us. While some older cameras may need you to change this by twisting a dial on the lens itself, todays DSLRs can do this through the body of the camera, and is now often displayed on the information cluster right by shutter speed. Aperture is a crucial skill to practice as a beginner in photography, as it can be helpful for two main reasons: compensating for shutter speed, and depth of field. When it comes to the first idea, consider the mentioned scenario earlier, shooting indoors, with low light. Shutter speed alone can not help solve this issue, as it is likely the subject will be blurry, if not from it moving, but possibly as well from your own hand movements. Lowering the aperture can help allow in more light, meaning, you will not need your shutter speed to be as slow in order to expose the image. When it comes to depth of field, aperture helps with this as well: the lower the aperture, the shallower the depth of field will be. A low aperture, of say 3.5, will create a more intimate look of portraits, and bring out detail in inanimate objects, while a higher aperture of 11, is more suited for landscapes. An important disclaimer to keep in mind is that the range of aperture you have at your disposal is solely based on the lens you are using. The body of the camera does not impact aperture. Lens typically will say on them the range of the aperture that you have available to you. Most “kit” lens, which is the lens the camera comes with, are a 3.5 – 5.6 aperture. If you enjoy having a shallower depth of field, consider purchasing a lens which goes even lower, such as a 1.5.
ISO
While shutter speed and aperture are important to practice and learn how the two in tandem impact how images are exposed, there is a third variable to consider which can help if you don’t want to lower your shutter speed any more, and your aperture is as low as it can go: ISO. This refers to the sensitivity of the sensor itself. When film was solely used for photographs, this took the form of the number you see on rolls of film; 200, 400, 800, and possibly even 1600. This referred to how sensitive the film was to light, and this same principal has been applied to DSLRs. Changing the ISO can be done within the settings on your camera’s screen, and the lower the number, the less sensitive the sensor becomes. For instance, at high noon outside, shooting a landscape image, an ISO of 200 or 400 is likely all you need, allowing you to keep a fast shutter speed, and depending on your preference, a more closed aperture for a landscape shot. While shooting at dusk, in low light, a higher ISO, of 1600 or even 3200 may be needed depending upon the subject. A couple of items to keep in mind when using a higher ISO: first, more grain will be present at the higher ISOs. While software such as Lightroom can help reduce this in your editing process, on less expensive models, the grain may be too much to be able to cure. More pricey models will not only have less grain, but more sensitive sensors, allowing for 6400 sensitivity with little impact to the quality of the image. ISO is crucial to practice and is an important tip for a beginner in photography because it allows for more wiggle room as you learn how to use shutter speed and aperture.
If you have a DSLR, you may have noticed there are different modes you can shoot, ones that prioritize shutter speed, or aperture. While these can be helpful in certain situations where you may need to be quick to the draw, say during a wedding or a family photo shoot, I would encourage you to use full manual, helping you practice and understand how all three of these variables interact with one another, and how they can manipulate light into the perfect image. Above all, as a beginner in photography, the ultimate tip is to practice, and to just keep shooting. The more you learn about how each setting impacts the image, the more consistently your shots will turn out exactly how you wanted them.