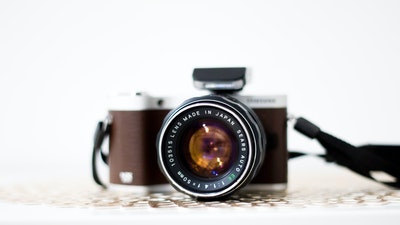
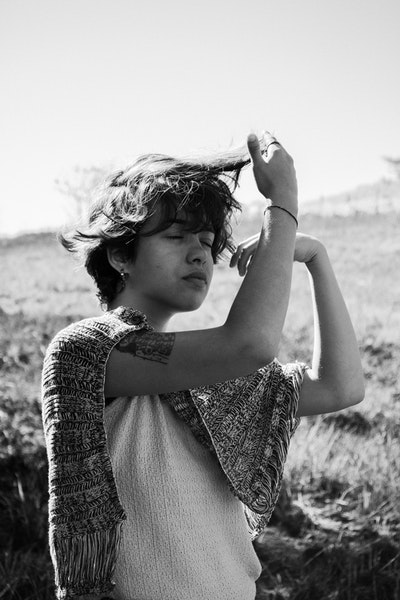
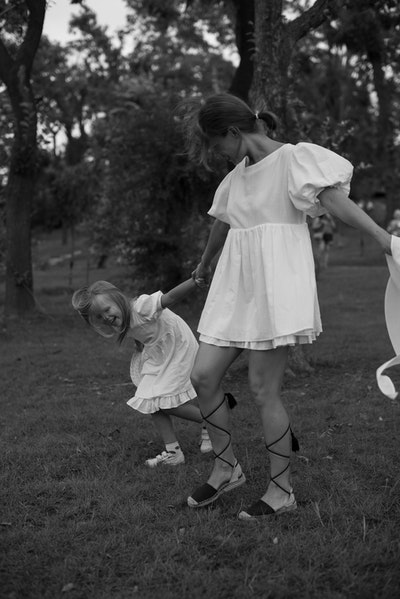
Creative photography is the use of photo manipulation software to add or remove elements from photographs. Although creative photography can be done using a standard camera, most creative photographers use digital cameras and photo editing programs such as Adobe Photoshop or GIMP. They can add or break down elements in photographs, then save them for further processing into a final product or print.
Creative images often result in a final product that looks nothing like the original photograph that was taken. Photo manipulation techniques are very common with artists, especially those who work with digital art media. There is an entire world out there of people who create amazing images through digital manipulation. The following article will cover some of these cool creative photography techniques every photographer should know about.
1. Multiple exposures: This is a photography technique used to superimpose multiple exposures in a single image for an artistic and dramatic effect. Some filmmakers and photographers have created double exposure since the beginning of film and digital photography. It can provide new aesthetics when the two images are combined into one, such as surrealism or mystery. The camera has a special multiple exposure setting, allowing the photographer to create the desired double-exposure images. This is an example of good photography composition, and it can be taken with any camera (can use DSLR too).
2. Forced perspective: It imitates forced perspective by altering the perceived size of objects in an image [forced perspective photograph]. The original photograph is taken with a normal lens, but altering the angle of view can give the illusion that the foreground objects are very large. It’s good to use forced perspective in photography composition when taking panorama or landscape.
3. Lens flare: This refers to any artifact on an image that appears to be caused by light scattering within the camera lens. Lens flare is particularly introduced when shooting images toward a bright light source. It can be an aesthetic tool, especially when imitating real cameras with cheap lenses (but it’s better to use professional lenses). The image composition looks good if you remove lens flares in post-processing (remove all unwanted spots or artifacts from the image).
4. Night photography: It has a specific range of techniques that are different from those used in day-to-day photography, as the light changes faster at night and lower lighting levels may exist. A tripod is typically used to avoid motion blur, but shutter speed must be quick enough to “freeze” any motion (or use high ISO). The composition should be different from normal. If you want to take night photography, make sure you know all the good techniques first.
5. Nightscape: It’s a genre of landscape photography that depicts landscapes with natural lighting at nighttime or in dark areas like caves, where daytime would appear completely black anyway. Perfect for taking after sunset, but make sure you have a fast lens (f/0.95-f/1.8), high ISO, and aperture to capture low light scenes.
6. Motion blur: This is the apparent lengthening of an object due to its motion during exposure, also known as a streak or smear photography. Two types of photographic blur can be applied to creative photography composition techniques: rotational blur and radial blur (blur effect). When panning, it creates smooth streaks across the background based on your movement direction; if applying slow shutter speed with a motionless camera, everything will look sharp except for moving objects which appear blurry (you can not see their shape). It’s useful in sports/action photography, but make sure the shutter speed is fast enough to freeze motion (1/500-1/1000).
7. HDR: High Dynamic Range (HDR) combines multiple exposures of the same scene to produce an image with a greater dynamic range of luminosity than possible using any exposure alone. It’s good for photographing situations that have extreme contrast (e.g., daylight and night) or trying to capture details in very dark areas or very bright areas which are not normally captured by standard exposure techniques; To achieve this effect, take at least three photos – underexposed, normal exposure and overexposed – then merge them together using HDR software. But it’s better to do it manually instead of using HDR Photoshop action (you can’t control the details of this special effect).
8. Panoramic photography: It’s also used to describe a series of adjacent photographs that are later stitched together into or animated as one long panorama or projected so as to give viewers the impression they are standing in the middle of it (panoramic photography stitching software is required). This can be taken during landscape/nature/travel photography techniques. For best possible results, first, shoot using wider focal length (the shortest focal distance on your lens), then use longer focal length to capture overlapping areas – do not forget to overlap photos by at least 30% to properly stitch them together.
9. Long exposure: This is an exposure technique where the shutter remains open for a relatively long period of time than usual. This is particularly useful in situations where creating an image without any visible blur would be impossible using standard shutter speed, like when there is too much light or too little light. The concept can be applied creatively to make a photo look different from normal – the best choice is night photography with a tripod and slow shutter speed (the world looks more peaceful and dreamy).
10. Macro photography: It’s a technique used to take photos really close up, where the size of the subject on the camera’s sensor is life-size or larger [can also find information about macro lenses]. That means you’re taking photos from a very close distance, which makes details look sharp/clear/vibrant since it magnifies everything; Best subject for macro photography (fruit/flowers/insects), and the best lens is usually a dedicated macro lens.
11. Infrared: It’s a technique that captures images using infrared light frequencies invisible to the human eye – which basically means you can see things humans can’t (infrared camera required). Infrared images tend to look like Black & White photos but with an interesting look because of unusual coloring; it’s especially good at showing the unseen side of nature/landscape/travel; however, it looks better on film than digital due to post-processing.
12. Light painting: This is a creative photography composition technique used in dark environments where shutter speed is too fast and stopping motion is not possible with regular exposure; to create striking images, use a long exposure (1-30 seconds) and add light sources (flashlights/lamps, etc.) while keeping the camera steady.
13. Vibration photography: It’s a technique used to take photos of moving objects with sharp results by taking multiple pictures at extremely short time intervals; this is done by using a tripod and setting it on a firm surface or placing it on top of some object, so it doesn’t move – then set the camera to B mode and hold down the shutter – you should start seeing an image appearing after few seconds. The standard interval between shots is 0.5 seconds for insects/sports/action subjects, 1 second for portraits, and 3 seconds because of motion blur increasing with longer exposure times.
14. Long Exposure: This is an exposure technique where the shutter remains open for a relatively long period of time than usual (most exposures are between 1/60th and 1 second). For best possible results, first, shoot using wider focal length (a shortest focal distance on your lens), then use longer focal length to capture overlapping areas – do not forget to overlap photos by at least 30% to stitch them together properly
15. Hand-held light painting: It’s a creative photography composition technique used in dark environments where shutter speed is too fast and stopping motion is not possible with regular exposure; to create striking images, use a long exposure (1-30 seconds) and add light sources (flashlights/lamps, etc.) while keeping the camera steady – however, to avoid blurry photos, you’ll need to hold the light in your hands and paint it in front of your lens.
In conclusion, creative photography is widely acknowledged and most popular form of art in the world (fact: 75% of all photos ever taken were originally artistic compositions by photographers); it’s a great way to express yourself, share with others and get appreciation/recognition for your work. As long as you follow basic rules like “watch composition” and use the right exposure – then anything can be an artistic image that looks awesome when shared on the internet!


